
Recently some of my old friends and I started getting back into Valheim. Last time we did this we rented out a server from one of the many server providers out there. However, as we’ve noticed, these servers are prone to really underperforming their listed specs. Since then I have significantly upgraded my home lab from a lonely little Raspberry Pi 3B+.
While setting up a Valheim server in itself is not that difficult, especially with the help of docker, until now I’ve really just been setting up my workflow and this is a chance for me to test it all out.
Now the way I have things currently set up on my main server is that I run LXC containers with Docker running inside these containers for a bit of container-inception. I learned this little technique from a recent DBTech video.
flowchart LR

    A[Proxmox] --> B1["LXC (valheim.domain.tld)"]
    A[Proxmox] --> B2["LXC (gitea.domain.tld)"]
    A[Proxmox] --> B3["LXC (...)"]
    B1 --> C1[Docker Compose]
    C1 --> D1[gitea]
    C1 --> E1[gotea_db]
    B2 --> C2[Docker Compose]
    C2 --> D2[valheim]
    B3 --> C3[Docker Compose]
    C3 --> D3[...]
    C3 --> E3[...]
If this isn’t rendering right it’s because there has been an ongoing issue with Mermaid.JS
While options like Portainer stacks exist for organization, having each “stack” on it’s own LXC container makes backuping up and restoring each stack individually a whole lot easier. Instead of having to roll back everything if something goes wrong, I can just pick whichever stack I messed up. All of this at essentially an unnoticable cost to performance.
Create Proxmox LXC Container
To start, I need to spin up a new LXC container. This is pretty easy in Proxmox.
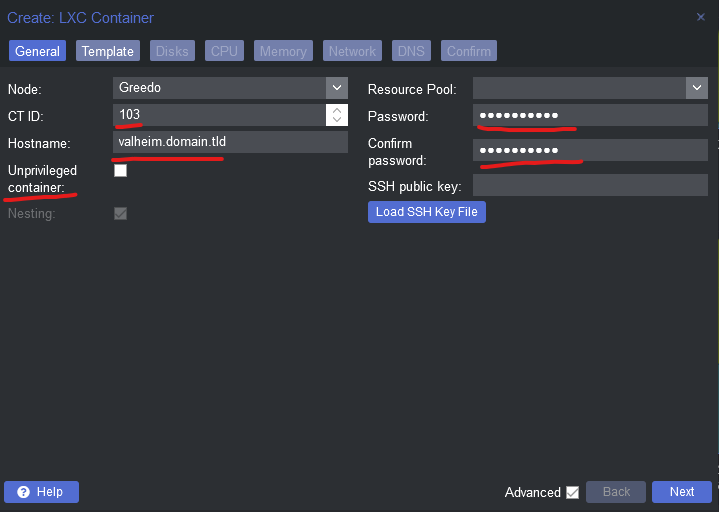
- We need to give it an ID, 103 in my case was available
- A hostname: valheim.domain.tld, this can really be whatever, but giving it the domain you will access it with helps me for organization
- Deselect “Unprivileged container” this will allow us later to let the Valheim server get more CPU cycles so it feels smoother
- Finally give it a password
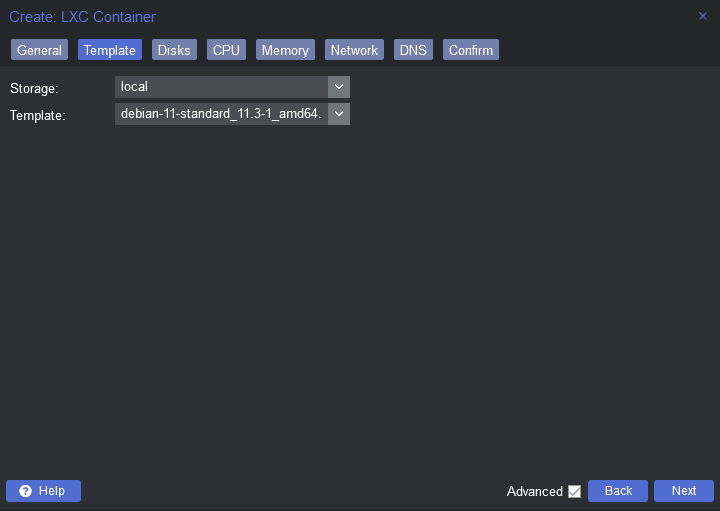
- Here I’m choosing a Debian 11.3-1 template from local storage
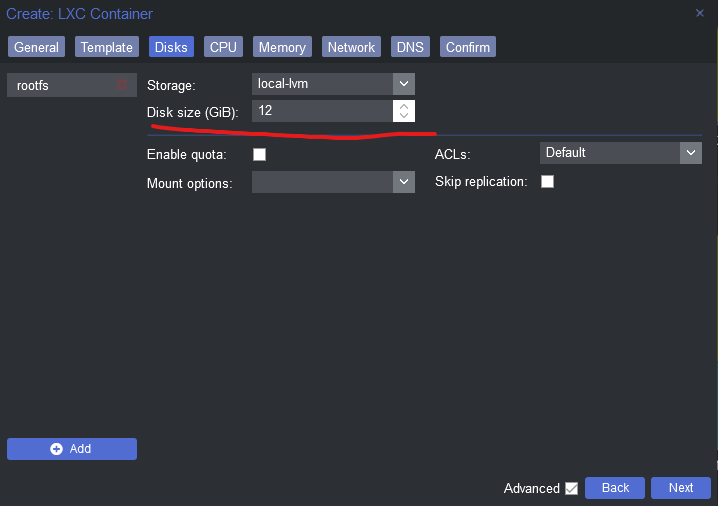
- Allocate some storage for it. I found that 8GB is enough but 12GB gives some head room for growth
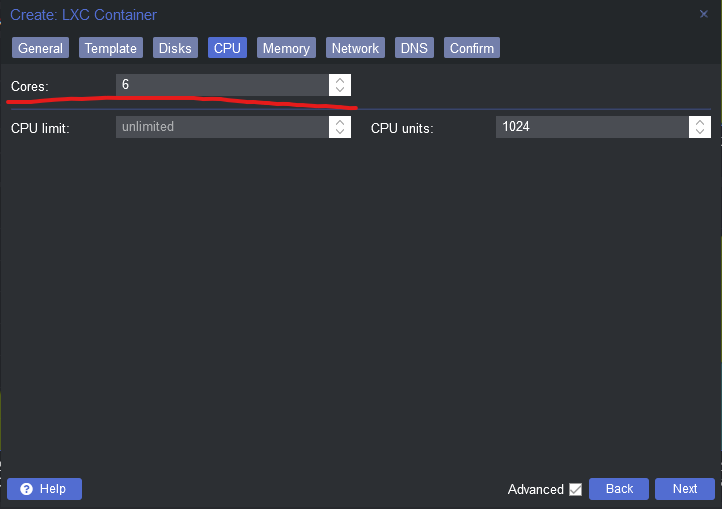
- I’ve given my container 6 vCores on my Intel 12400, however even with a few people on it I’ve not managed more than 10% CPU usage
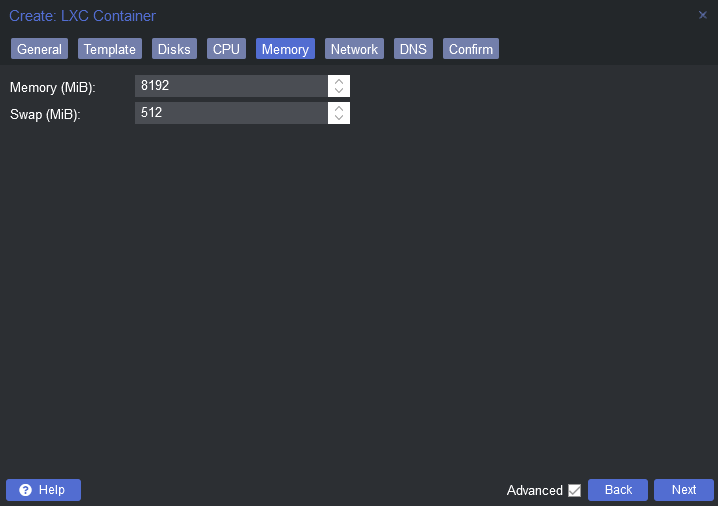
- 8GB RAM is more than enough, at idle it only uses 2.5GB and it barely goes up as people join
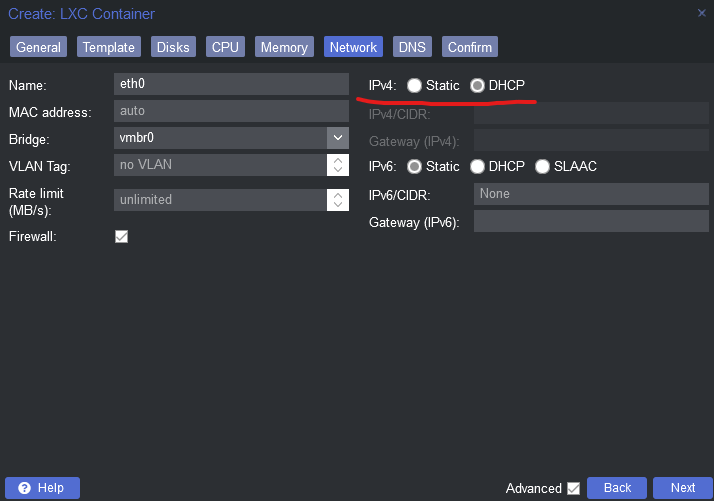
- I’ve selected to use DHCP to get the IP address for this container, I like to set the static routes in my DHCP server (in my case my OPNsense router) to stay organized
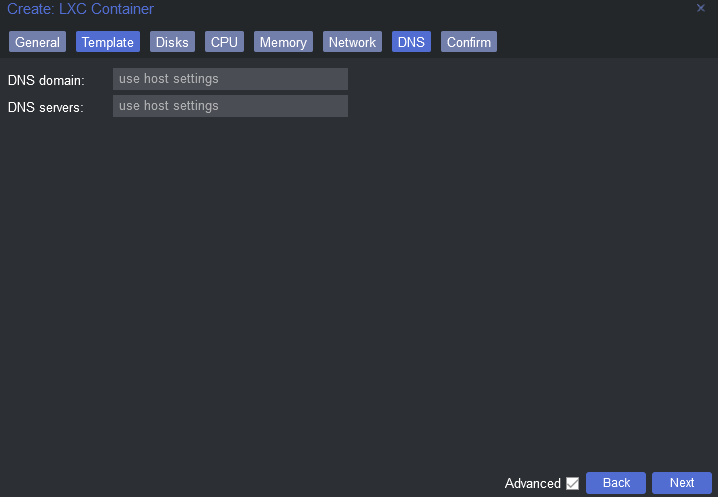
- I ignore the DNS tab because I let my DHCP server provide the DNS details the the container
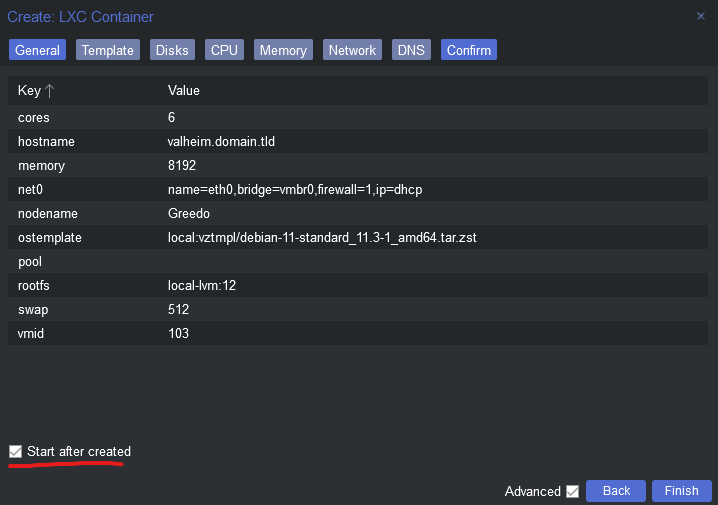
- Finally, set it to start after creating and click confirm
Next, log into the container and I’ve created a simple install script for myself that installs updates, zsh, oh-my-zsh, and docker
Install zsh and docker
1
2
3
apt update && apt upgrade -y && apt install curl zsh git -y \
    && sh -c "$(curl -fsSL https://get.docker.com)" \
    && sh -c "$(curl -fsSL https://raw.github.com/ohmyzsh/ohmyzsh/master/tools/install.sh)" -y
Install Valheim
First I’ll make the directory where I want to keep the docker compose file.
1
mkdir -p docker/valheim && cd docker/valheim
and then after a bit of trial and error I came up with this docker-compose.yml file
1
2
3
4
5
6
7
8
9
10
11
12
13
14
15
16
17
18
19
20
21
22
23
24
25
26
version: '3.8'
volumes:
  config:
  data:
services:
  valheim:
    image: lloesche/valheim-server
    container_name: valheim
    environment:
      - PUID=1000
      - PGID=1000
      - SERVER_NAME=AValheimServer
      - WORLD_NAME=AValheimServer
      - SERVER_PASS=dockeriscool
      - SERVER_PUBLIC=true
      - ADMINLIST_IDS=YOUR_STEAM_ID
      - TZ=America/New_York
    ports:
      - 2456:2456/udp
      - 2457:2457/udp
    volumes:
      - config:/config
      - data:/opt/valheim
    cap_add:
      - SYS_NICE
    restart: always
Here you’ll want to replace YOUR_STEAM_ID with your steam ID which can be found on your steam account page, which will make you the server administrator.
I have SERVER_PUBLIC set to true so I can easily monitor the server status using Uptime-Kuma.
Once you have this saved, it’s as easy as running
1
docker compose up -d
and it will create and host the server for you. Just port forward ports 2456 and 2457 in your router and you’ll be able to connect to it using your public IP. Or you can set up a (un-proxied) DNS record valheim.domain.tld to point to your public IP and connect to it that way.
Monitoring with Uptime-Kuma
I won’t show you how to set up Uptime-Kuma, although it’s fairly simple. But this will just be how to monitor your Valheim server using it.
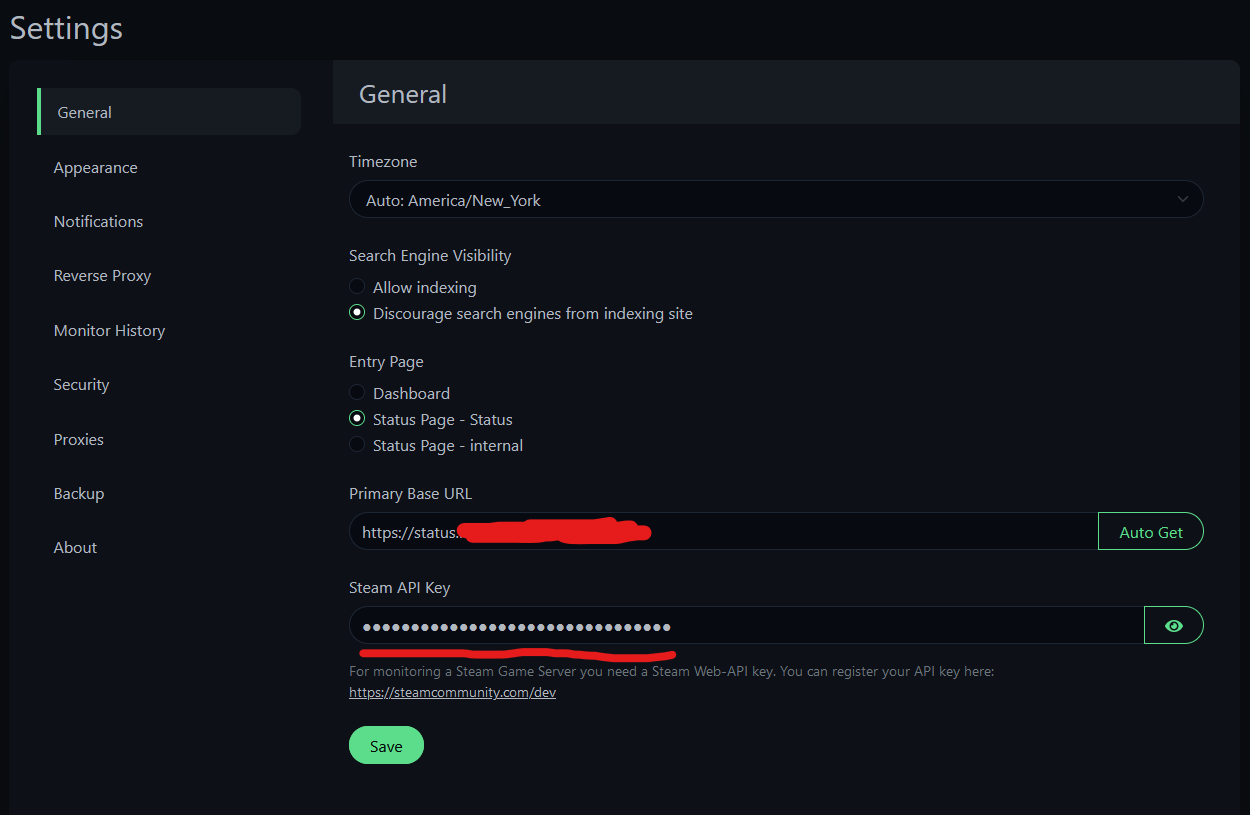
First you’ll need a Steam Web API key, you can get one by going here:
Then you just need to add that to the Settings: General page in Uptime-Kuma
Next you’ll want to add a new monitor, I called mine Valheim. And for the host name you actually want to put your public IP address. For some reason the steam API does not support DNS lookup, this took me a while to figure out. Finally, set the port to 2457, add any other settings, tags, notifications, etc. and then click save.

If all goes well you should see your server is online.
